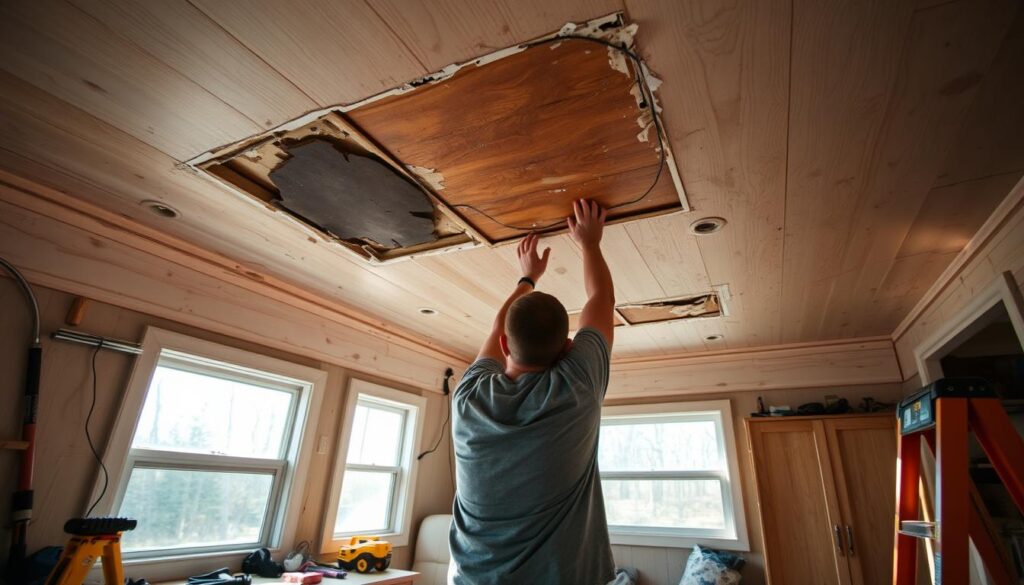
Mobile home ceiling board looking worse for wear? You’re not alone if you’ve ever wondered why it doesn’t quite hold up like it used to. Many homeowners face this common issue, and understanding the cause is the first step toward a long-lasting solution
Mobile homes have unique ceiling challenges. They often have lower ceilings, averaging 7-8 feet. This makes repairs seem daunting, but they’re doable with the right approach. Whether it’s sagging panels, water stains, or cracks, knowing how to replace ceiling boards is key for a safe home. Many homeowners face the need for mobile home ceiling repair due to water damage or age. Let’s explore how to replace ceiling boards with confidence.
Did you know water damage is the main cause of ceiling problems in mobile homes? Regular checks are vital. We’ll guide you through the repair process, from start to finish. By the end, you’ll be ready to tackle your mobile home ceiling repair.
Table of Contents
Key Takeaways
- Water damage is the primary cause of ceiling issues in mobile homes
- Mobile home ceilings typically come in three types: sheetrock, suspended, and paneled
- Regular inspections are crucial for preventing major ceiling damage
- Proper material selection is key for successful ceiling board replacement
- DIY ceiling repair can save money and improve your mobile home’s comfort
Understanding Mobile Home Ceiling Damage
Mobile home ceiling damage is a common problem that needs quick action. Knowing why it happens, how to spot it, and why fixing it fast is key. This helps keep your home safe and in good shape.
Common Causes of Ceiling Board Damage
Water damage is the main reason for ceiling problems in mobile homes. Leaks in the roof, plumbing issues, and bad insulation can cause water to get in. This moisture weakens the ceiling, leading to stains and sagging.
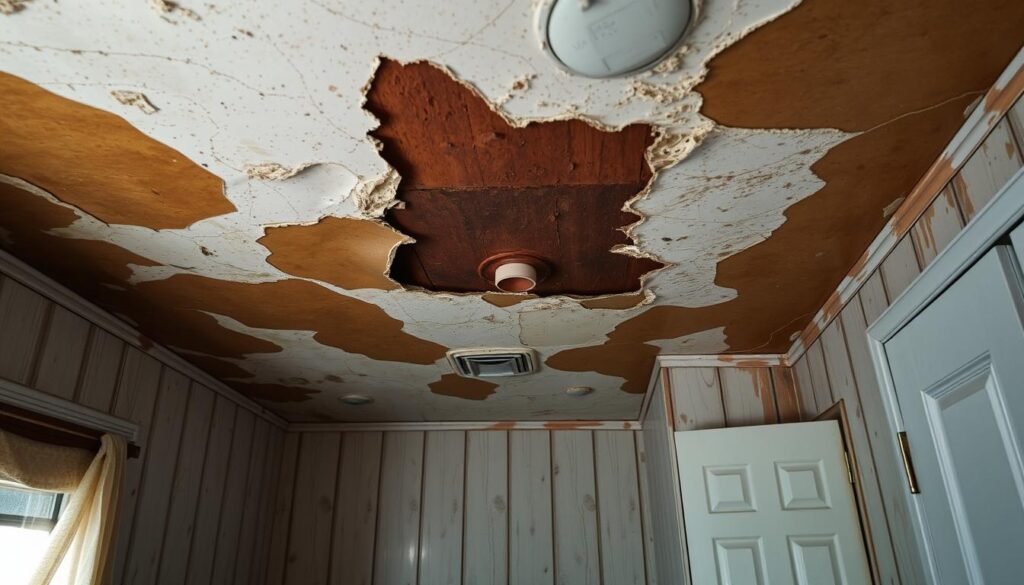
Signs of Deterioration to Look Out For
Keeping up with your mobile home means watching for these signs:
- Visible cracks or holes
- Water stains or discoloration
- Sagging ceiling panels
- Peeling paint or wallpaper
- Musty odors indicating mold growth
Importance of Timely Repairs
Fixing ceiling problems right away is very important. Quick action can stop small issues from becoming big. Waiting too long can lead to costly repairs and health risks from mold.
| Damage Type | Potential Consequences | Recommended Action |
|---|---|---|
| Minor Water Stains | Cosmetic issues, potential mold growth | Clean and monitor |
| Sagging Ceiling | Structural weakness, risk of collapse | Immediate professional inspection |
| Visible Mold | Health risks, spread of damage | Professional mold remediation |
Understanding mobile home ceiling damage helps you act fast to protect your home. This ensures a safe place to live.
Assessing the Extent of Damage
A thorough ceiling inspection is key for fixing mobile homes. It helps find problems and figure out how to fix them.
Visual Inspection Techniques
Begin by looking for obvious damage. Check for discoloration, sagging, or cracks. Use a flashlight for dark spots.
Focus on areas near windows, doors, and vents. Leaks often show up here.
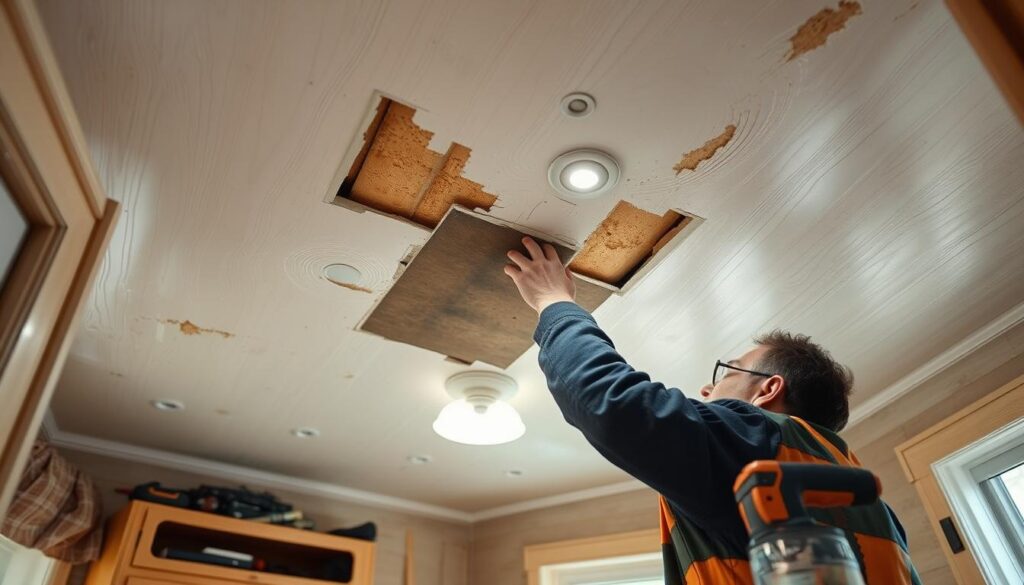
Identifying Water Damage and Leaks
Finding water leaks is important. Look for stains, bubbly paint, or mold. These signs mean there’s moisture.
Press on soft spots to check for hidden damage.
Determining Repair or Replacement Needs
After checking, decide if you need to repair or replace. Small stains might just need a touch-up. But big damage might mean replacing the ceiling.
| Damage Type | Repair Action | Replacement Needed |
|---|---|---|
| Small water stains | Clean and repaint | No |
| Sagging panels | Reinforce or replace | Possibly |
| Visible mold | Remove and treat | Yes |
| Structural damage | Professional repair | Yes |
Fixing the root cause is crucial to avoid more damage. If unsure, get a pro’s opinion.
Preparing for Mobile Home Ceiling Board Replacement
Starting a mobile home renovation project needs careful planning. First, you must gather the right tools and materials. You’ll likely need drywall or vinyl-covered wallboard, depending on your choice and the home’s setup.
A good toolkit for this job includes:
- Ladder
- Screwdriver
- Pry bar
- 3-inch putty knife
- Safety glasses
- Gloves
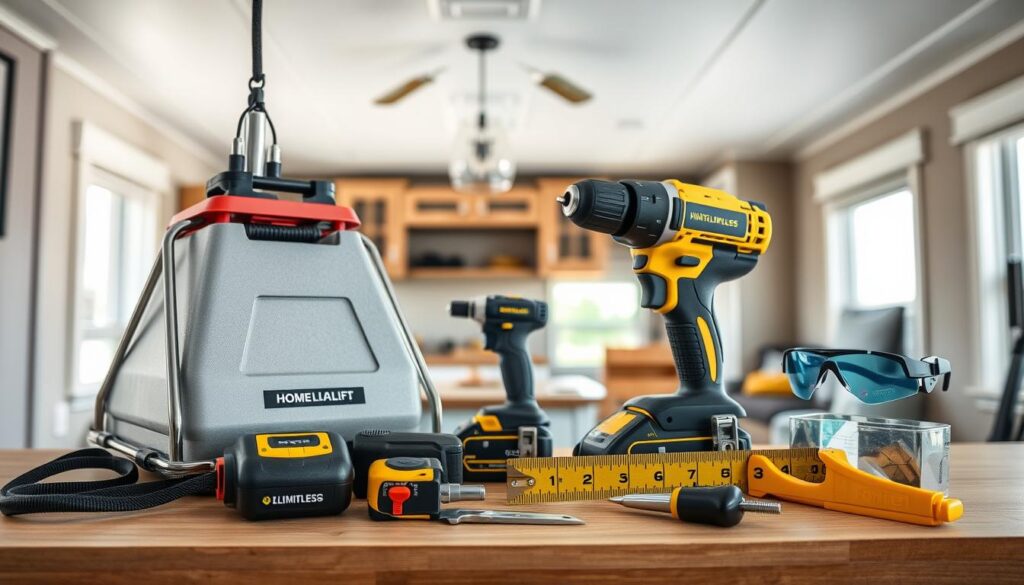
When picking ceiling board materials, think about gypsum panels. They’re popular in mobile homes for being affordable and light. Gypsum panels come in sizes like 16″, 24″, or 48″ and thicknesses of 5/16″ or 1/2″.
Before you start, clear the area under the damaged ceiling. Also, protect your furniture and flooring. If there’s water damage, fix the leak first.
| Material | Size | Approximate Cost |
|---|---|---|
| SeaSpray Gypsum Panel | 4′ x 13.9′, 5/16″ thick | $58 each |
| Ceiling Rosettes with Screws | 25 pieces | $4.50 |
Buy about 15% more panels than you think you’ll need. This extra helps with damage and mistakes during your renovation.
Removing Damaged Ceiling Boards
Removing ceiling boards in mobile homes needs careful planning and execution. This step in DIY ceiling replacement is crucial. It requires attention to detail and safety precautions. Let’s look at the key points for a successful removal.
Tools and Materials Needed
Here’s what you’ll need for efficient ceiling board removal:
- Pry bar
- Screwdriver
- Ladder
- Protective gear (goggles, gloves, dust mask)
- Trash bags
- Utility knife
Safety Precautions
Mobile home repair safety is crucial. Wear protective gear to avoid debris. Make sure your ladder is stable and have someone nearby. Be careful of electrical wiring and insulation above the ceiling.
Step-by-Step Removal Process
Here’s how to remove ceiling boards effectively:
- Inspect the ceiling to find damaged areas
- Remove any fixtures or obstacles
- For screw-held tiles, remove screws and gently lower the damaged tile
- For panels with plastic splines, remove splines before detaching panels
- Use a pry bar to carefully separate boards from joists
- Dispose of damaged materials in trash bags
Remember, ceiling tiles in mobile homes are usually 16 inches or 4 feet wide. They run the length of the home. This info helps plan your removal strategy.
Choosing the Right Replacement Materials
Choosing the right materials for ceiling boards in your mobile home is key. It affects both the look and function of your home. Let’s look at some options and what to consider.
Types of Ceiling Boards for Mobile Homes
There are many lightweight ceiling options for mobile homes:
- Wood panels: Durable and looks good
- Vinyl panels: Affordable and simple to put up
- Fiberglass panels: Light and fire-safe
- Metal panels: Strong but heavier
- Plasterboard: Keeps sound out and can be customized
Weight and Insulation Considerations
Think about the weight and insulation when picking ceiling boards. Mobile homes need lightweight options. For example, a 4×8 ft birch wood panel at 1/2″ is 45 pounds, while a 1/4″ panel is 21 pounds. Good ceiling board insulation helps control temperature and saves on energy.
| Material | Weight (lbs/4×8 ft panel) | Insulation Value | Cost ($/sq ft) |
|---|---|---|---|
| Birch Wood (1/2″) | 45 | Medium | 1.81 |
| Vinyl | 20 | Low | 1.50 |
| Fiberglass | 16 | High | 2.00 |
| Beadboard | 30 | Medium | 3.50 |
Matching Existing Decor
Your new ceiling should match your home’s style. Beadboard systems give a classic look and cost between $2.50 to $4.50 per square foot. Glass panels make spaces look bigger and brighter. Weathered tin is great for a farmhouse style.
The right choice should balance looks, function, and cost. Think about durability, ease of installation, and upkeep when picking your mobile home ceiling materials.
Installing New Mobile Home Ceiling Boards
Ceiling board installation is a key step in mobile home renovation techniques. The process varies based on the material you choose. Let’s explore the installation methods for different ceiling board types.
For sheetrock installation, start by attaching furring strips across ceiling joists. Apply construction adhesive and set screws carefully. Use mesh tape for seams and apply joint compound in three coats. This DIY ceiling repair method ensures a smooth finish.
When installing paneling, secure furring strips every 12 inches across rafters. Apply adhesive to the strips and use finishing nails to attach panels. An air-finishing nailer can make overhead work easier.
| Material | Cost per sq ft | Weight | Moisture Resistance |
|---|---|---|---|
| Gypsum Panels | $1 – $2 | Heavy | Low |
| PVC Panels | $2 – $4 | Light | High |
| Wood Panels | $3 – $8 | Medium | Medium |
| Metal Panels | $4 – $10 | Heavy | High |
Consider the material’s weight when choosing ceiling boards. PVC panels are 40% lighter than drywall, making them ideal for mobile homes. They’re also 100% moisture-resistant, reducing the risk of water damage.
Remember, proper leveling and secure attachment are crucial for a successful ceiling board installation. Regular maintenance can extend your ceiling’s lifespan and prevent future damage.
Dealing with Underlying Issues
Before you replace ceiling boards, you need to fix the real problems. This way, you avoid future issues and make the repair last longer.
Addressing Roof Leaks
Water damage often causes ceiling problems. A good mobile home roof repair stops leaks. Look for missing shingles, damaged flashing, or cracks in the roof. Fixing these quickly saves you money later.
Improving Insulation
Upgrading insulation makes your mobile home more comfortable and energy-efficient. Add or replace insulation in ceiling joists. It keeps the temperature right and stops moisture damage.
Reinforcing Ceiling Structure
Older mobile homes might need stronger ceilings. This could mean:
- Adding support beams
- Switching to stronger studs
- Checking if the structure can hold new materials
Fixing these problems helps your ceiling board replacement succeed. Remember, strong structure prevents sagging or cracking.
Finishing Touches and Ceiling Maintenance
After putting in new ceiling boards, it’s time to finish and start a maintenance plan. Taking good care of it will make it last longer and avoid damage.
Painting and Texturing New Ceiling Boards
Give your new ceiling boards a nice finish with paint or texture. Use a texture sprayer for an even coat. You can choose from knockdown, orange peel, or popcorn textures.
Before painting, prime the boards. This helps the paint stick better and cover evenly.
Regular Inspection and Maintenance Tips
Make a schedule for keeping your ceiling in great shape. Check for water damage or sagging every few months. Clean it with a mild detergent to get rid of dust and dirt.
This keeps your ceiling looking good and helps find problems early. It saves you money on big repairs.
Preventing Future Damage
Here are ways to keep your mobile home ceiling safe:
- Fix roof leaks right away
- Keep the air well-ventilated to control moisture
- Don’t put too much weight on the ceiling
- Keep indoor humidity low to stop mold
| Maintenance Task | Frequency | Benefit |
|---|---|---|
| Visual inspection | Monthly | Early detection of issues |
| Cleaning | Every 3 months | Prevents dust buildup |
| Check for leaks | Bi-annually | Prevents water damage |
| Professional inspection | Annually | Ensures structural integrity |
By following these tips, your mobile home ceiling will stay beautiful and strong for many years.
Conclusion
Replacing damaged ceiling boards in a mobile home is a big task. You need to think carefully about it. Prices vary from $1 to $2 per square foot for gypsum panels to $4 to $10 for metal panels. This shows the wide range of choices based on your budget and needs.
DIY ceiling replacement can save money, but consider the pros and cons. Gypsum board is cheap and smooth, while PVC panels resist moisture but cost more. Metal tiles are pricey but offer unique designs.
Don’t forget to add costs for tools and professional help if needed. Experts can help pick the right materials. They consider durability, installation ease, and upkeep.
Whether you pick fiberglass, vinyl, or acoustic tiles, safety comes first. Always check local building codes. Keeping up with maintenance and quick repairs can prevent expensive damage later.

