Ever wondered why your home gym feels incomplete? The secret lies beneath your feet. Home gym flooring isn’t just about looks; it’s the base of a safe, effective workout area. But how do you pick and put in the right flooring for lasting durability?
Home gym flooring has become key for fitness lovers. The right flooring protects your floor, makes workouts safer, and cuts down noise. You can choose from rubber rolls to interlocking tiles, each with its own benefits for your workouts.
Putting in gym floor mats or tiles might seem tough, but with the right help, it’s doable. Whether you’re working with carpet, concrete, or hardwood, there’s a flooring solution for you. Let’s explore the world of home gym flooring and find out how to make a durable, lasting workout area.
Table of Contents
Key Takeaways
- Rubber tiles are the most popular and versatile gym flooring option
- Proper installation enhances durability and safety of home gym flooring
- Flooring options vary in weight, thickness, and installation methods
- Adhesives and tapes play a crucial role in secure flooring installation
- Regular maintenance extends the lifespan of gym flooring
Understanding the Importance of Home Gym Flooring
Home gym flooring is key to a safe and effective workout area. It brings many benefits that improve your workout and protect your investment. Let’s look at the main reasons for installing the right flooring in your home gym.
Protection for Your Existing Floor
One big reason for home gym flooring is to protect your floor. Rubber flooring, ranging from 1/8″ to 1″ thick, guards your floor from damage by heavy equipment and dropped weights. Made from recycled tire crumb, it’s tough and absorbs impacts, preventing scratches or dents.
Enhanced Safety During Workouts
Safety is crucial in any gym. Rubber flooring improves anti-slip traction, lowering the chance of slips and falls during tough exercises. It also cushions your joints from high-impact workouts. Adding a home infrared sauna to your gym can aid in recovery after your workout.
Noise Reduction Benefits
Proper gym flooring also reduces noise. Rubber mats and tiles muffle the sound of dropping weights and running machines. This makes your workouts less disturbing to others in your home or nearby neighbors.
| Feature | Benefit |
|---|---|
| Durability | Protects existing floors from heavy equipment |
| Shock Absorption | Reduces joint stress during high-impact exercises |
| Anti-Slip Surface | Enhances safety by preventing slips and falls |
| Sound Insulation | Minimizes noise from workout activities |
Setting up home gym flooring is a simple DIY task, saving you money on professional installation. With options like rolled mats or interlocking tiles, you can easily make a safe, durable, and comfy workout space at home.
Types of Home Gym Flooring Options
Choosing the right flooring for your home gym is key for comfort, safety, and performance. Let’s look at popular options to help you decide.
Rubber Rolls and Mats
Rubber gym flooring is known for its durability and shock absorption. Prices are from $3 to $8 per square foot. Flooring Inc’s Best Rubber Gym Flooring Rolls cost $2.25 to $3 per square foot, offering great value.
Interlocking Rubber Tiles
Interlocking tiles are easy to install and replace. Living.Fit Gym Mats are 40-inch-by-40-inch and under $50. They’re a cost-effective choice for home gyms.
Foam Tiles and Mats
Foam mats provide cushioning for low-impact exercises. They’re affordable, costing $0.50 to $2.50 per square foot. These mats can be customized by interlocking them.
Vinyl Planks
Vinyl planks offer a sleek look and are easy to maintain. Prices are from $2 to $7 per square foot, combining beauty with practicality.
| Flooring Type | Price Range (per sq ft) | Key Features |
|---|---|---|
| Rubber | $3 – $8 | Durable, shock-absorbing |
| Interlocking Tiles | $2.50 – $5 | Easy installation, replaceable |
| Foam Mats | $0.50 – $2.50 | Cushioning, cost-effective |
| Vinyl Planks | $2 – $7 | Sleek, easy maintenance |
Think about your workout style when choosing flooring. Rubber is best for weightlifting, foam for aerobics, and PVC for lightweight training. For heavy weights, choose 3/4-inch thick rubber flooring.
Factors to Consider When Choosing Home Gym Flooring
Choosing the right gym flooring is key to a safe and effective workout space. You need to consider several important factors. This ensures your flooring meets your needs and preferences.
Durability is a top concern in gym flooring. Your flooring should handle heavy equipment and intense workouts well. Rubber flooring is a favorite among gym owners for its toughness.
Thickness is crucial for protection and comfort. Rubber flooring thickness ranges from 8mm to 3/4 inch. Thicker options absorb shock better and reduce noise, perfect for intense workouts.
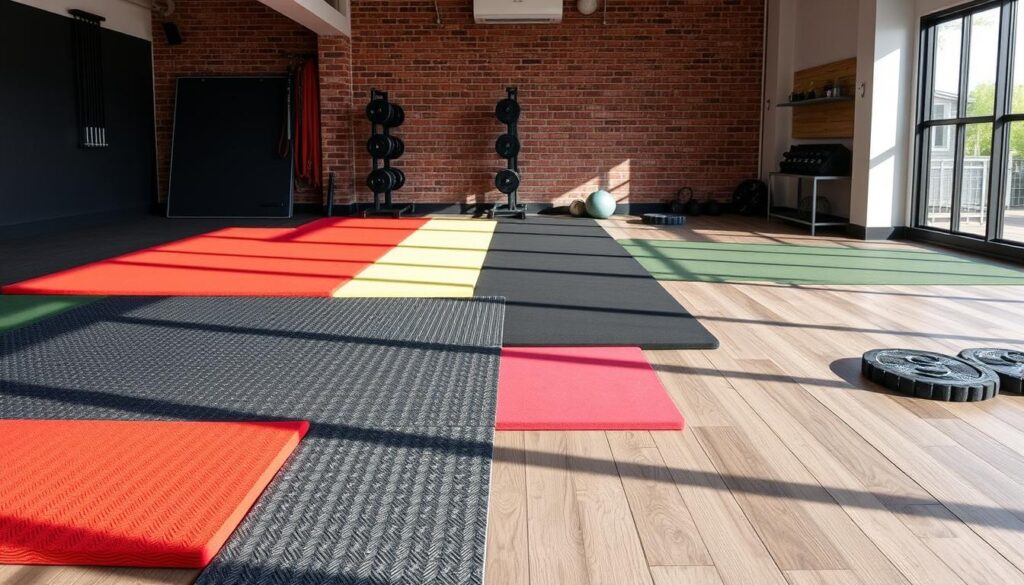
Installation ease is also important. Some floors, like interlocking rubber tiles, are easy to install yourself. Others, like rolled rubber, might need a pro for proper fitting.
| Flooring Type | Durability | Thickness Range | Installation Ease |
|---|---|---|---|
| Rubber Rolls | High | 4mm – 12mm | Moderate |
| Interlocking Tiles | High | 20mm – 30mm | Easy |
| Foam Tiles | Medium | 20mm – 40mm | Very Easy |
| Vinyl Planks | High | 2mm – 8mm | Moderate |
Think about your workout and equipment when picking flooring. For weightlifting, choose thicker, more durable flooring. For yoga or low-impact, thinner, softer options might be better. Always check your subfloor and fix moisture issues before installing to ensure lasting performance.
Preparing Your Space for Installation
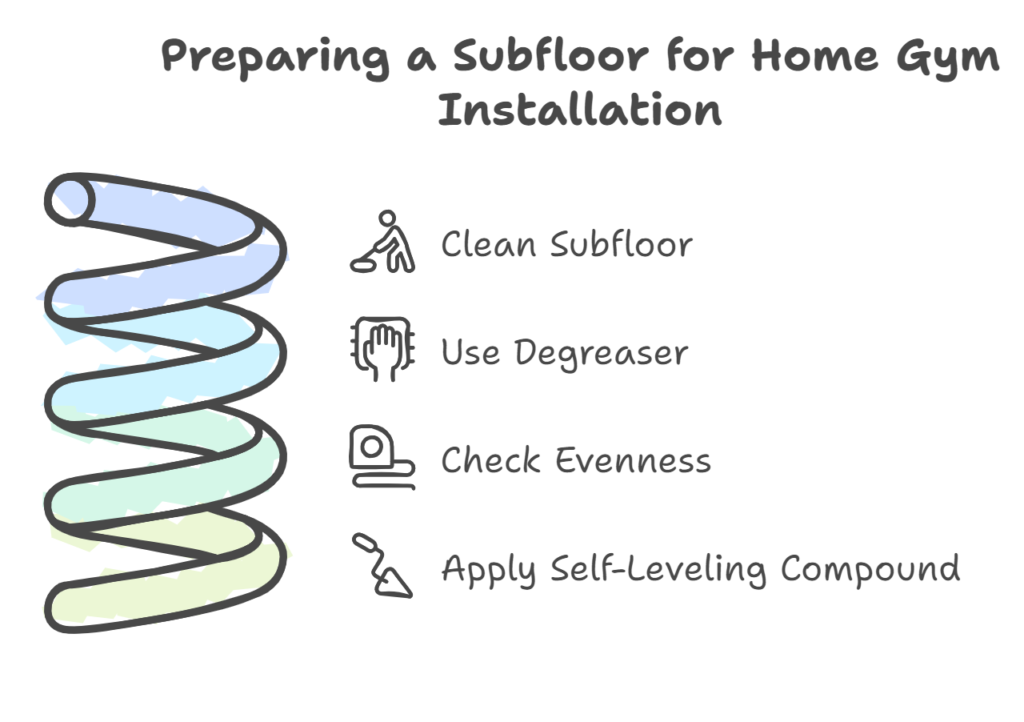
Before you start installing your home gym flooring, it’s important to prepare the subfloor. This step makes sure your floor is smooth and strong. It can handle tough workouts and heavy equipment. Let’s look at the main steps to get your space ready.
Cleaning and Leveling the Subfloor
Addressing Moisture Issues
Moisture can damage your gym floor. Do a moisture test to see if there’s too much humidity. If it’s too high, put a moisture barrier down first. This is key in basements or damp areas. Using a dehumidifier in gym spaces with saunas helps keep moisture under control.
Gathering Necessary Tools and Materials
Make sure you have the right tools for easy installation:
- Utility knife for cutting flooring
- Measuring tape for precise measurements
- Chalk line for marking guidelines
- Rubber mallet for secure tile placement
- Adhesive or double-sided tape (if required)
| Flooring Type | Weight | Thickness | Best For |
|---|---|---|---|
| Commercial Rolls | 200lbs per 25-foot roll | 8mm, 9mm, 12mm | Standard gyms, HIIT facilities |
| Floor Mats | 88lbs (4’x6′) | Varies | Targeted heavy-use areas |
| Rubber Tiles | 8lbs each | Varies | Modular, easy installation |
With the right subfloor prep, moisture control, and tools, you’ll have a strong base for your home gym flooring. This ensures it lasts long and performs well.
Step-by-Step Guide to Installing Rubber Rolls
Installing gym flooring rolls can change your workout area. This guide will help you install rubber rolls for home gyms or garage floors.
First, get your tools ready: a utility knife, straight edge, adhesive or double-sided tape, and a 100-pound roller. Make sure your subfloor is clean before starting.
Place your gym flooring rolls out, leaving a small gap for expansion. Cut them to fit your space with a sharp utility knife and straight edge. For a smooth look, use a moisture-cured urethane adhesive like Chemrex 941 or Taylor 2091.
Spread adhesive with a 1/16″ V-notch trowel, working in sections. Roll out the flooring onto the adhesive, pressing hard. Use the roller to bond it well, doing this at 75 and 90 minutes after you start.
- Allow 60 minutes for the adhesive to start setting
- Use a 50-100 lb roller for optimal bonding
- Leave a 5-10% buffer in material for mistakes
In areas under 10 meters wide, heavy-duty rubber tiles might not need adhesive. For bigger spaces, apply glue every sixth row for stability. Remember, proper installation makes your gym flooring last longer and work better.
Installing Interlocking Rubber Tiles
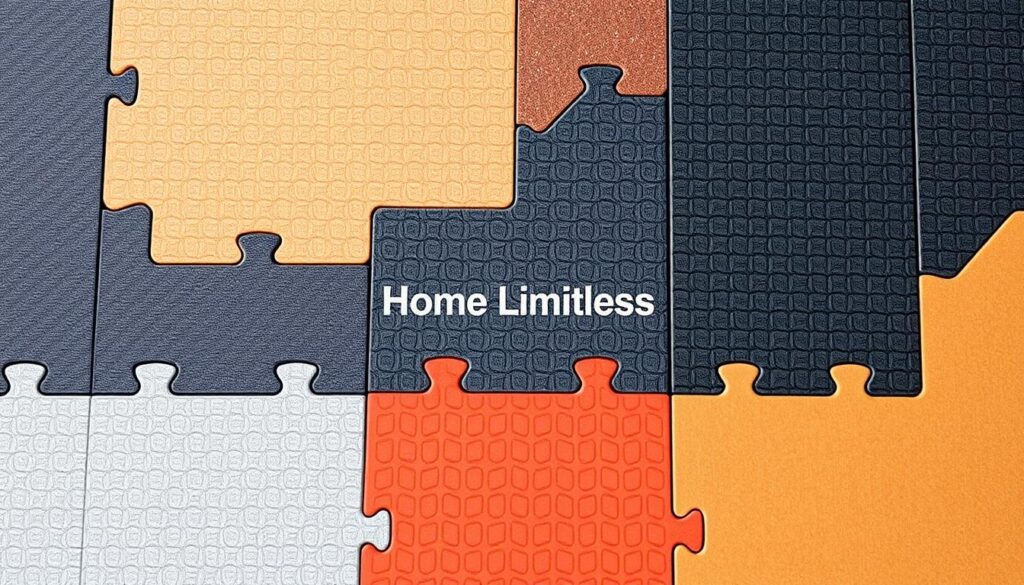
Interlocking tiles are great for DIY gym flooring. They’re easy to install, perfect for home gyms. Let’s look at how to set them up.
Laying Out the Pattern
Begin by placing tiles from the room’s center. This creates a balanced look and reduces edge cuts. Arrange tiles to cover more area and waste less.
Cutting Tiles to Fit
To fit perfectly, you’ll need to cut some tiles. Use a sharp knife and straight edge for clean cuts. Double-check your measurements before cutting. Always wear gloves and glasses for safety.
Securing the Edges
After placing tiles, secure the edges if needed. Most tiles stay in place without adhesive, but high-traffic spots might need it. Use a rubber mallet to ensure tiles fit snugly together.
| Tools Needed | Materials Required |
|---|---|
| Utility Knife | Interlocking Rubber Tiles |
| Straight Edge | Adhesive (optional) |
| Rubber Mallet | Safety Gear (gloves, glasses) |
| Measuring Tape | Cleaning Supplies |
By following these steps, you can finish your DIY gym flooring. Interlocking tiles are durable, absorb shock, and are easy to maintain. They’re a top choice for home gyms.
Home Gym Flooring: Ensuring Proper Fit and Alignment
Getting your home gym flooring right is crucial for safety and durability. The right installation boosts your gym’s look and extends your flooring’s life. Here are some tips for a perfect fit.
Begin by marking straight lines on your floor with chalk or a laser level. This ensures even edges and avoids tripping hazards. Don’t forget to leave gaps around the room for materials to expand.
When placing tiles or mats, focus on the seams and edges. Make sure they fit tightly for a smooth look and feel. This is especially true for interlocking tiles, which need precise alignment for stability.
| Flooring Type | Alignment Method | Key Consideration |
|---|---|---|
| Rubber Rolls | Chalk Line | Smooth Seams |
| Interlocking Tiles | Puzzle Pattern | Tight Connections |
| Foam Mats | Grid Layout | Even Spacing |
For rubber rolls, start in a corner and roll out carefully, aligning with your chalk line. Use a rubber mallet to remove air pockets and ensure full contact. This is key for a stable base for your power rack and other heavy equipment.
By following these steps, you’ll get professional-looking results and a safe, lasting surface for your workouts. Remember, investing time in proper alignment now means a better, more functional home gym in the future.
Maximizing Durability Through Proper Installation Techniques
Installing durable gym flooring needs careful attention and the right techniques. Follow these guidelines to make sure your home gym floor lasts for years. It will handle intense workouts and heavy equipment well.
Using Adhesives Correctly
Flooring adhesives are key to a secure gym floor. Pick an adhesive that works with your subfloor and flooring. Use a notched trowel to apply it evenly, as the manufacturer suggests. This creates a strong bond and keeps the flooring in place.
Allowing Adequate Curing Time
Patience is important when installing gym flooring. After applying adhesives, wait the recommended time before using the space. This time can be from 24 to 72 hours, depending on the product. Rushing this step can weaken your installation and shorten your flooring’s life.
Avoiding Common Installation Mistakes
To extend your gym floor’s life, avoid these common errors:
- Skipping subfloor preparation
- Using incompatible cleaning products
- Neglecting to acclimate flooring materials
- Improper seam sealing
By avoiding these mistakes and using proper installation techniques, you’ll have a safe, durable gym floor. It will last for years, even with intense use.
| Flooring Type | Recommended Adhesive | Curing Time |
|---|---|---|
| Rubber Rolls | Polyurethane Adhesive | 48-72 hours |
| Interlocking Tiles | Pressure-Sensitive Adhesive | 24-48 hours |
| Vinyl Planks | Acrylic Adhesive | 24-48 hours |
Maintenance Tips for Long-Lasting Home Gym Flooring
Keeping your gym floor in good shape is essential. Rubber gym flooring can last for many years with the right care. It’s a great choice for both home and commercial gyms.
Cleaning your gym mats regularly is important. Use a pH-neutral cleaner every week to keep them clean and looking good. For areas that get a lot of use, deep clean once a week. This helps keep your gym safe and clean.
- Use proper footwear to prevent unnecessary wear
- Avoid dragging heavy equipment across the floor
- Place mats at entrances to reduce dirt tracking
- Address spills promptly to prevent staining
- Inspect regularly for tears or damage and repair as needed
Use equipment mats in areas with heavy machinery. This helps spread out the weight. Rotate these mats to prevent uneven wear. This simple step can make your flooring last longer.
| Flooring Type | Weight | Thickness Options |
|---|---|---|
| Commercial Flooring Rolls | 200lbs per 25-foot roll | 8mm, 9mm, 12mm |
| Floor Mats (4’x6′) | 88lbs | Varies |
| Rubber Floor Tiles | 8lbs each | Varies |
By cleaning your gym mats regularly and following these tips, your home gym flooring will stay in great shape for years.
Enhancing Your Home Gym with Additional Features
Creating the perfect home gym is more than just the right flooring. Adding key features can make your space better. Gym accessories are key in this transformation, turning a simple room into a fitness haven.
Mirrors are vital gym accessories. They help you check your form during exercises, preventing injuries. They also make your gym look bigger and more welcoming.
Lighting is also crucial for a good home gym. Bright, adjustable lights keep you focused and energized. Think about using LED panels or track lighting for even light across your area.
Don’t forget about soundproofing. It keeps noise down, letting you enjoy music or videos without distractions. Use acoustic panels or soundproof curtains to block out extra noise.
- Add storage solutions for equipment organization
- Install a sound system for motivational music
- Hang motivational posters or artwork
- Include a small fan or air purifier for comfort
With these features, your home gym will be functional, inspiring, and fun. The right mix of accessories, mirrors, lighting, and soundproofing turns your space into a personal fitness sanctuary.
Conclusion
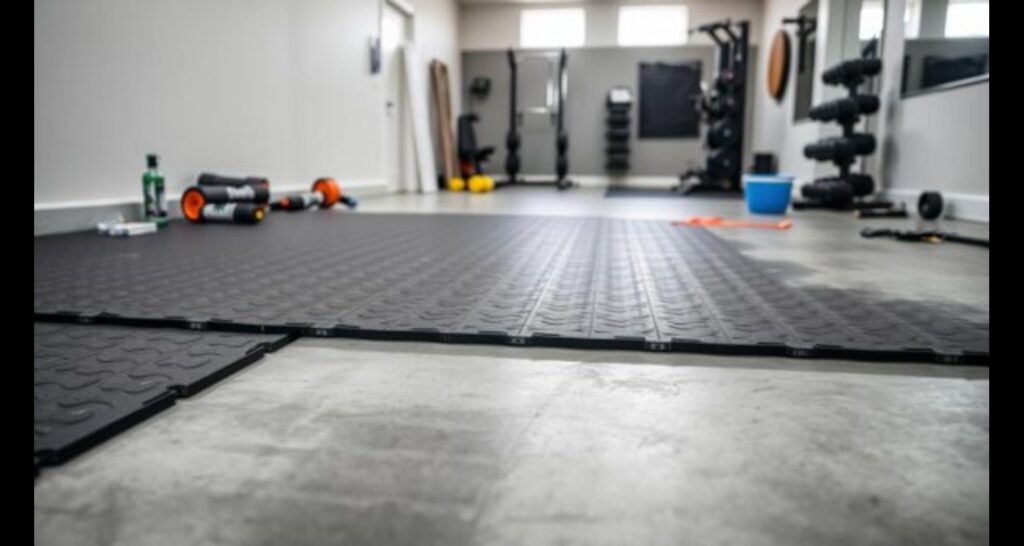
Installing durable home gym flooring is a big step up for your workout area. The right choice makes your space safe, comfy, and lasts long. Rubber flooring is top-notch for its toughness and shock absorption, ideal for heavy weights and intense workouts.
Foam flooring is great for yoga and Pilates, offering lots of cushioning without breaking the bank. Vinyl flooring is also a good pick for its water resistance and easy upkeep. It looks like wood or stone and handles moisture well.
Success in installing your flooring depends on careful planning and doing it right. Think about your workouts, the room size, and your budget when picking flooring. Proper prep, installation, and upkeep are crucial for your flooring to last. Follow these steps for a safe, inviting home gym for years.






2 thoughts on “How to Install Home Gym Flooring for Maximum Durability?”